
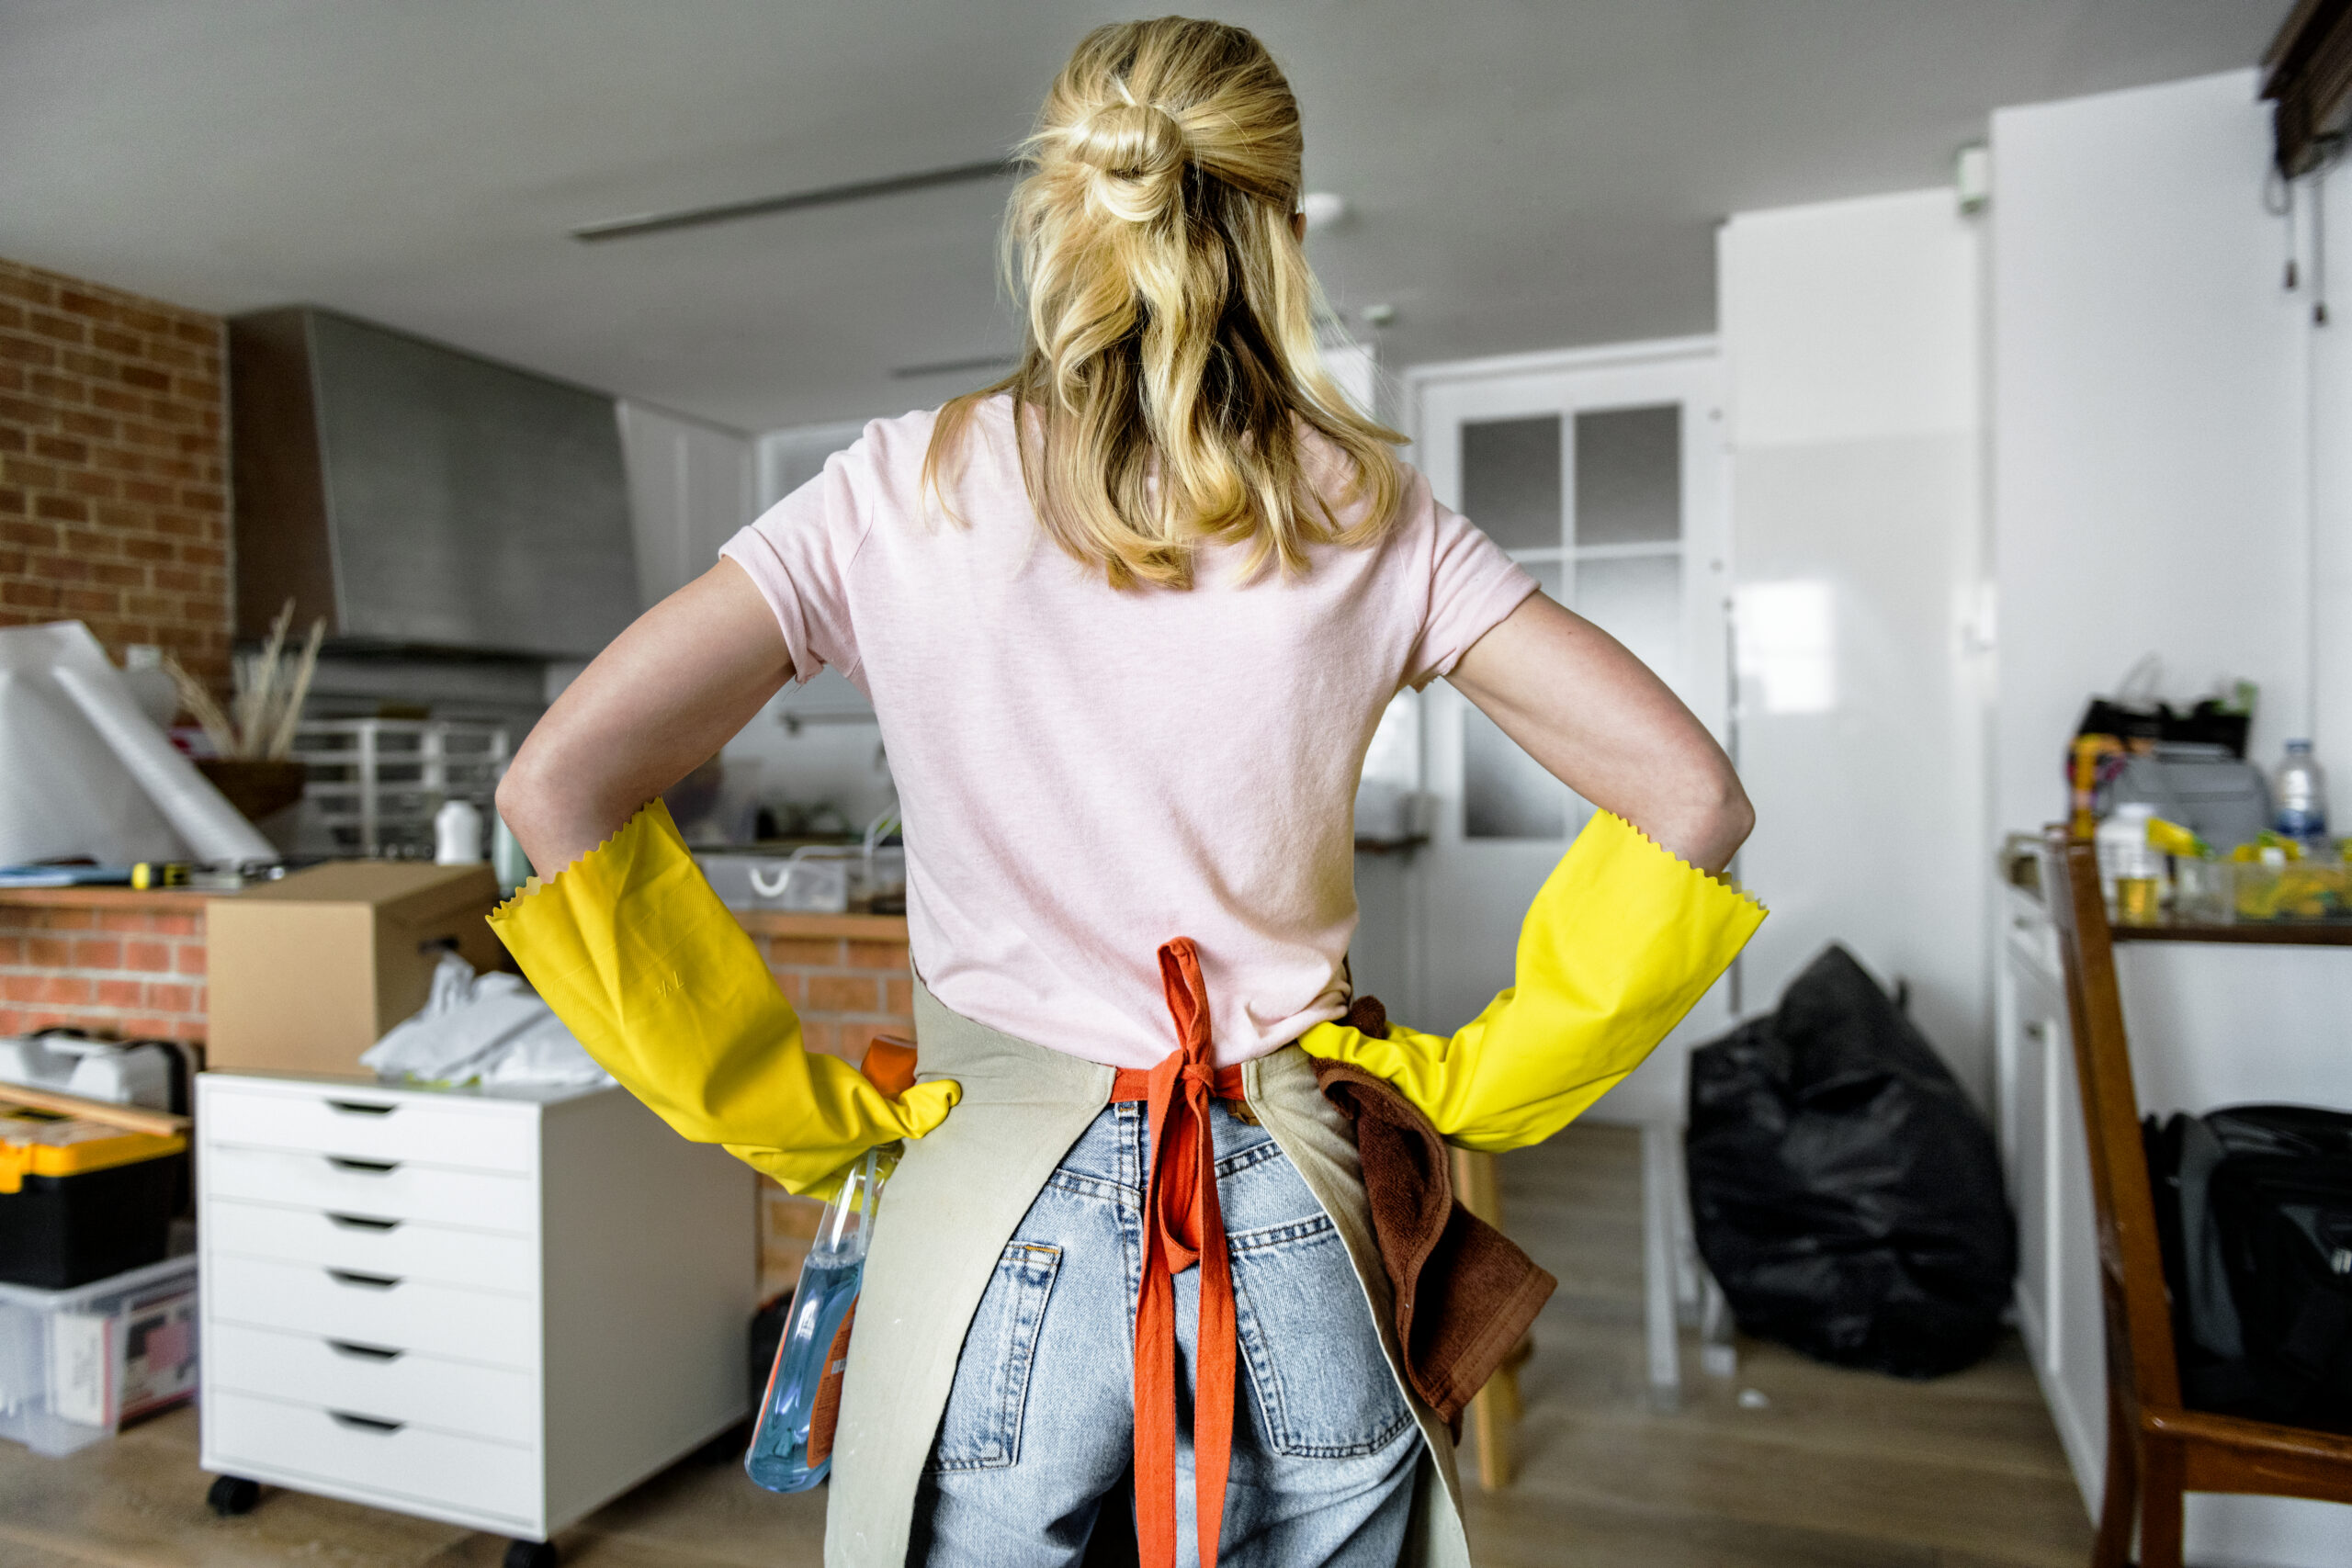
Every repair inevitably leads to traces of garbage, plenty of dust, unpleasant residues of screed, lime, paint, glue or other materials. Usually, various builders, painters, electricians, plumbers and others have passed through the repaired site, and after the repair works the premises are heavily polluted and will definitely need thorough cleaning. So, roll up your sleeves and get on with this important task. In our opinion, the cleaning after repair is done in four stages, and in this article, we will tell you who they are.
Stage one: compiling a list
The cleaning of the repaired place – apartment, shop, office, lasts on average from 1 to 3 days. The area in need of cleaning in this case is the determining factor. Make an inventory of what you need to clean. This way you will make sure you don’t miss anything. At first glance, there may be only a few basic things to clean in a room, but you should also look for all the hidden corners that usually do not impress you.
In general, cleaning after repair will include the following:
● Disposal of all other debris and construction residues.
● Vacuum surfaces, including ceilings and walls.
● Washing and disinfecting floors.
● Cleaning of all furniture and upholstery.
● Wipe doors, knobs, plinths, cornices and more.
● Cleaning and sanitizing bathrooms and kitchens (including appliances, cabinets and countertops).
● Washing doors and windows, sills, frames, blinds, ventilation systems, lighting fixtures, etc.
● Remove dirt on all hinges and handles, shelves and cabinets.
Stage two: selection of quality preparations
You already have clarity on what you will need to clear. Now is the time to plan what hygiene and disinfection products you will use. You need to choose ones that are suitable for the level of dirt and the types of surfaces you clean, while making sure that the detergents do not cause corrosion or other damage.
For hygiene activities you will need to add auxiliary materials such as: absorbent towels, sponges, brooms, mops and more. Provide everything you need for dry and wet cleaning and polishing. You may also need various equipment such as a ladder to reach the hard-to-reach places; a sharp object such as a model knife, with which you will remove silicone residues, window patches, etc. Don’t forget the garbage bags, which will help you get rid of unnecessary waste.
Stage three: time for action
Thus, it is already assumed that you have an action plan (list) and complete “combat equipment”, including all kinds of cleaning and disinfecting products. It’s time to make the distribution of tasks between you and the people who will help with the cleaning to finish it in optimal time. Also, good distribution requires determining the sequence of hygiene of individual rooms. We recommend that you start cleaning from the top down, finishing with the flooring. However, if there is residue of dust, paint, glue or other building materials on the floor, it is necessary to remove them first.
Stage four: fresh air
As you may have noticed, airborne dust particles are your biggest enemy when cleaning during and after repairs. For this reason, it is important to keep the air inside the site as fresh as possible throughout the process. You can use the oldest trick to keep the air clean: open the windows. This simple action will allow a new wave of air to circulate throughout the space, allowing a light breeze to remove dust from it and introduce a dose of fresh air. Thanks to the ventilation in combination with the appropriate detergents you will enjoy a comfortable, renovated and clean place where it will smell nice.
One of the important elements for effective cleaning after repair is finding quality products and biocides. If you want your premises to shine, all you have to do is contact us. We, from PaChico, will offer you all the necessary detergents that will make cleaning easy and flawless.